TMF: The Upstairs Bathroom
Ok so I know that it's been way too long since my last post and THAT'S NO WAY TO RUN A BLOG, SIR but things have been busy so cut me some slack.
For real though, this fixer business is no joke, and when you add in a day job (boo) and a vacation (YAY) the writing of this thing ends up on the back burner. But you didn't come here to read excuses, you came here (presumably) to read about our super cute new bathroom! Or maybe you stumbled upon this post and strangers' renovated bathrooms are really your thing so you’re sticking around. Either way, here are some pretty photos for your trouble:
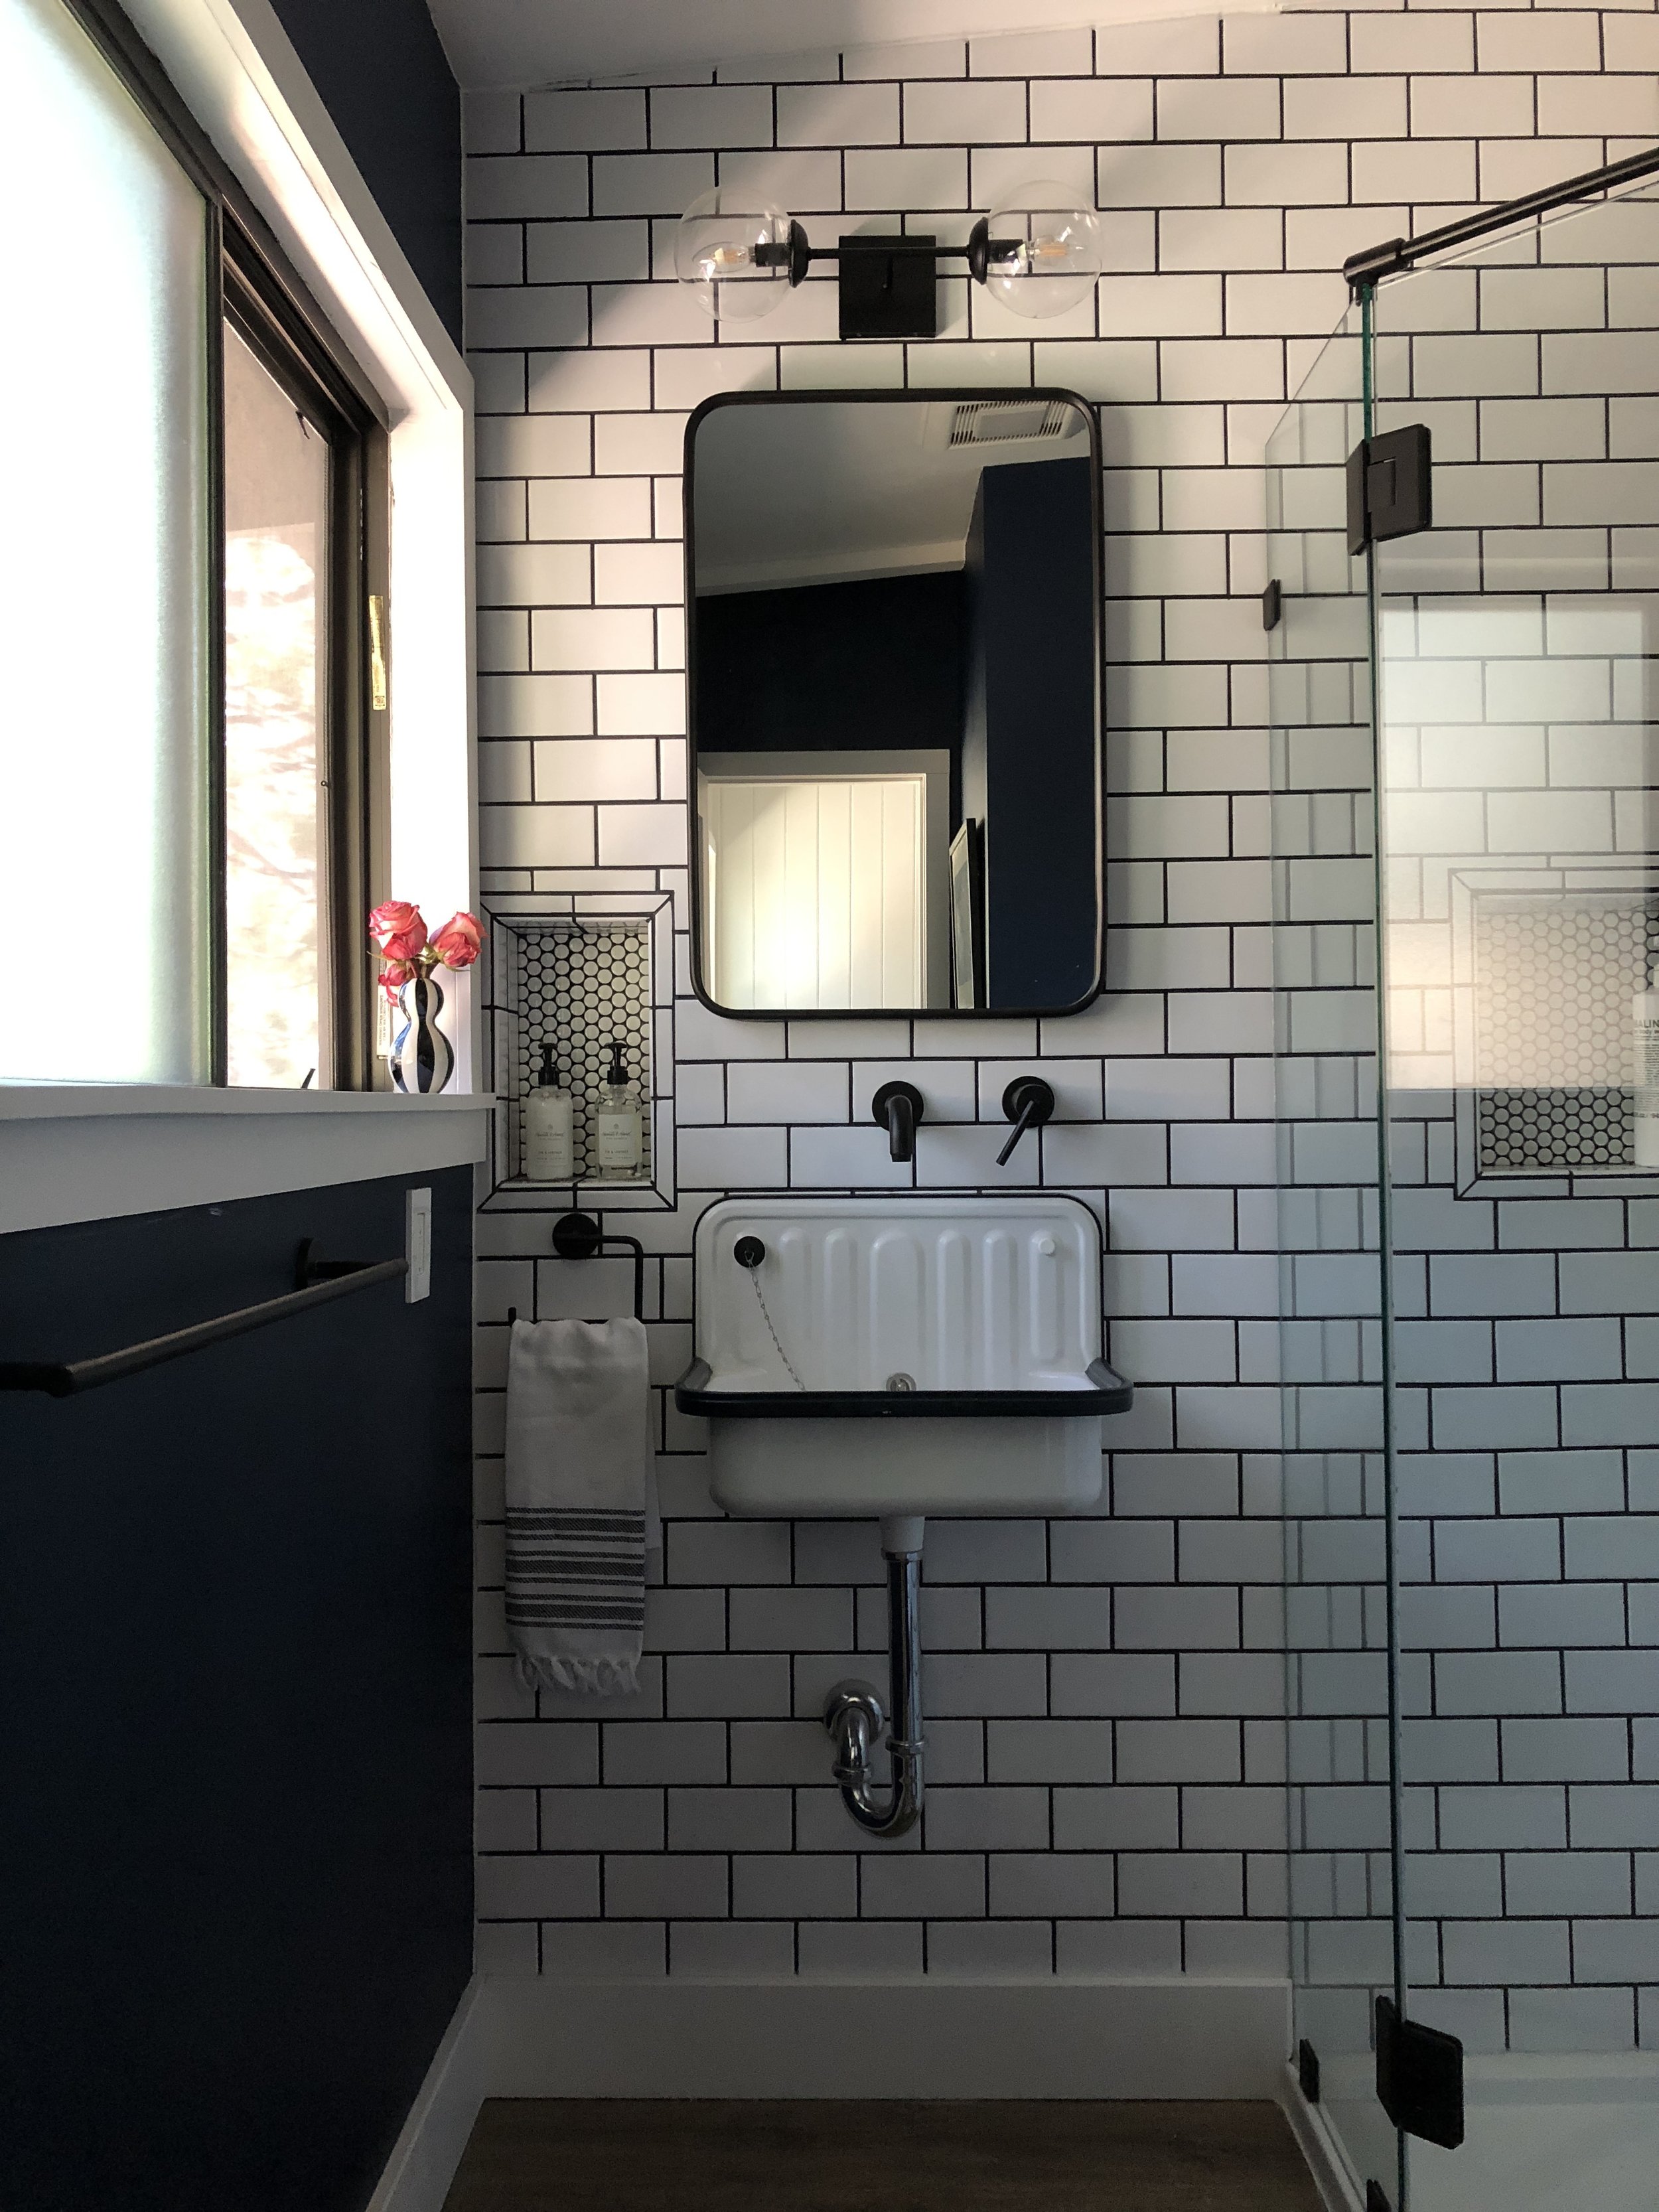
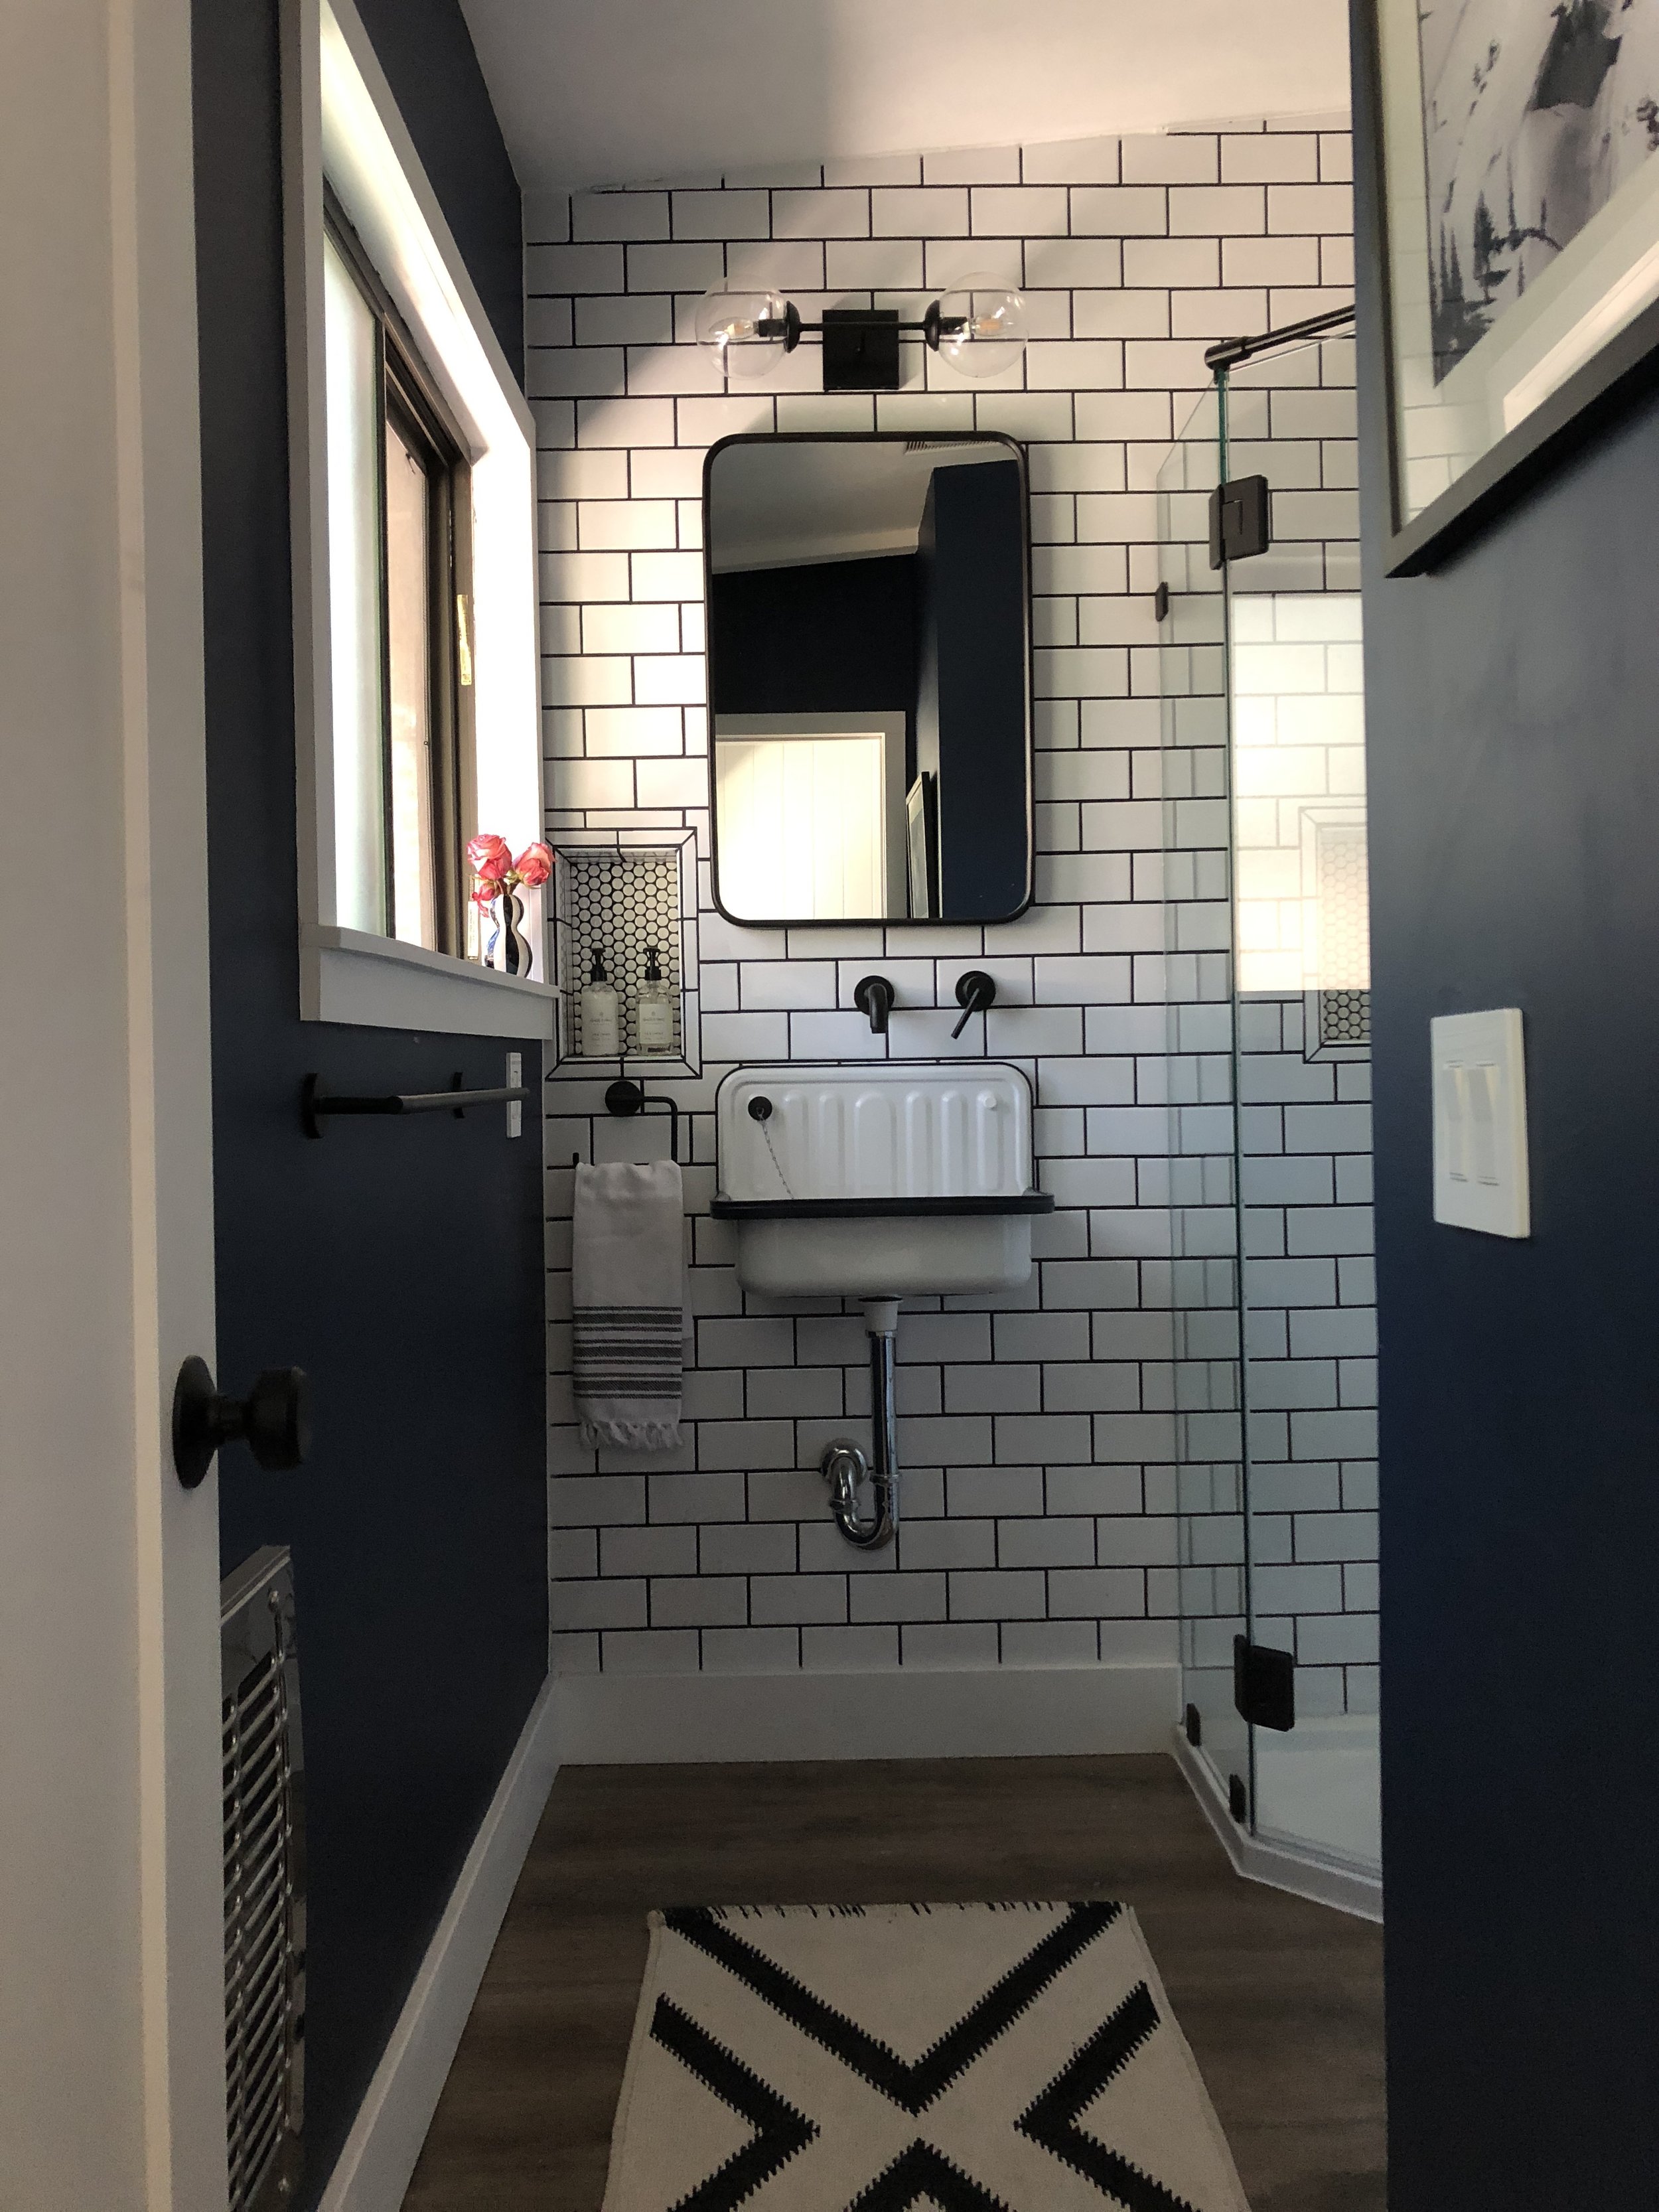
There she is, folks, the itty bitty bathroom of my dreams.
This bathroom, tiny though she may be, was the source of many sleepless hours. From the demolition (YOU try using a Sawzall on a shared condo wall while trying not to cut into the neighbors bathroom and also avoiding plumbing and electric - it’s super stressful) to the tiling (never tiled anything before, y'all), there were a lot of things to consider, and a lot of, shall we say, "teaching moments." And before any of that even started, I had to make some serious decisions about finishes.
My initial inspiration for this bathroom was this sink I stumbled upon on Pinterest:

Corian Sink via This Old House
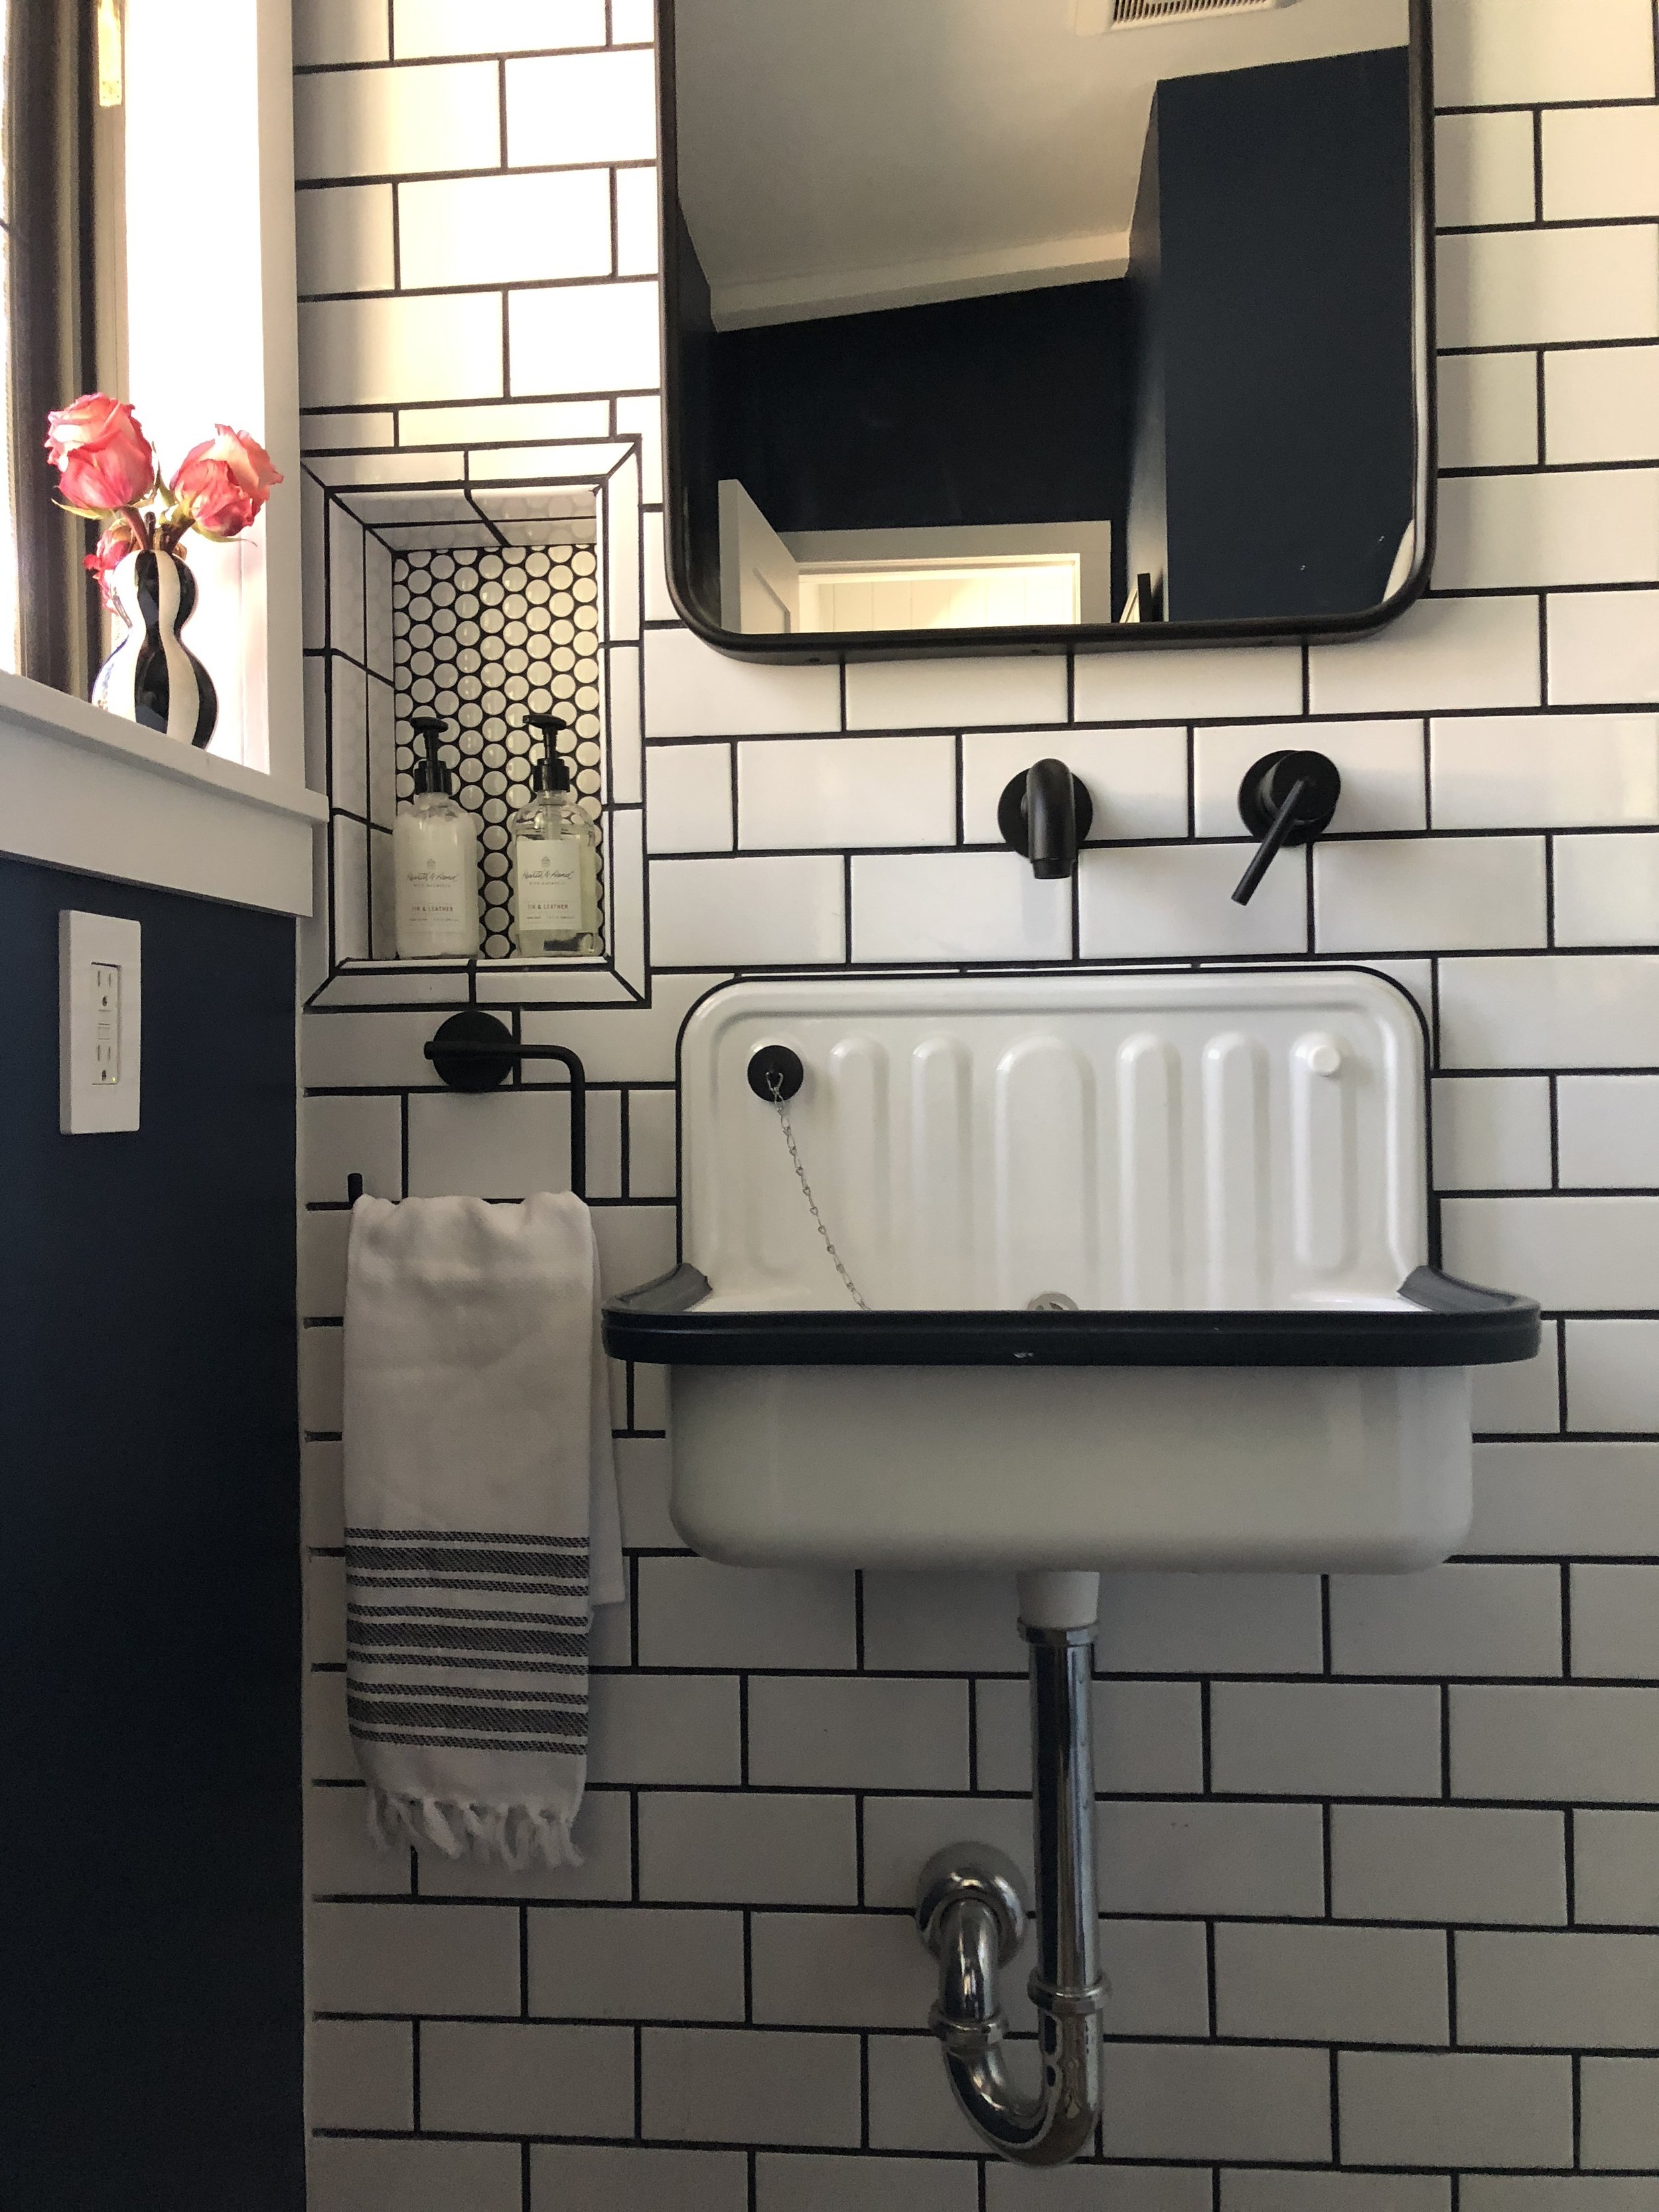
Trés chic, non? I thought so too, until I finally tracked this sucker down (it’s a Corian product) and got a quote from a fabricator: $3,400 for this puppy. AMERICAN DOLLARS. I can promise that I will never buy a sink that costs more than, say, a used Prius, so this was out for me. BUT I was not to be deterred, and eventually found and fell in love with the Alape Bucket Sink from Rejuvenation. It was around this beauty that I designed this bathroom.
The space itself is really is quite small, and I didn’t see any need to change the floor plan from the original. However, every last finish had to be changed, so we had no choice but to rip this baby down to the studs. ICYMI (or in case you needed a reminder), this is what we were working with:

And this is what it looked like after I spent a few hours with a hammer, pry bar, and Sawzall:

I truly cannot communicate to you how enjoyable it was to rip out that heinous, uncentered medicine cabinet and 1990’s vanity light. It was glorious.
After demo was done the real fun began, and the list of projects for this little room was not a short one. It included:
Dropping the ceiling in order to accommodate an exhaust fan
Installing said fan and venting out the side of the house
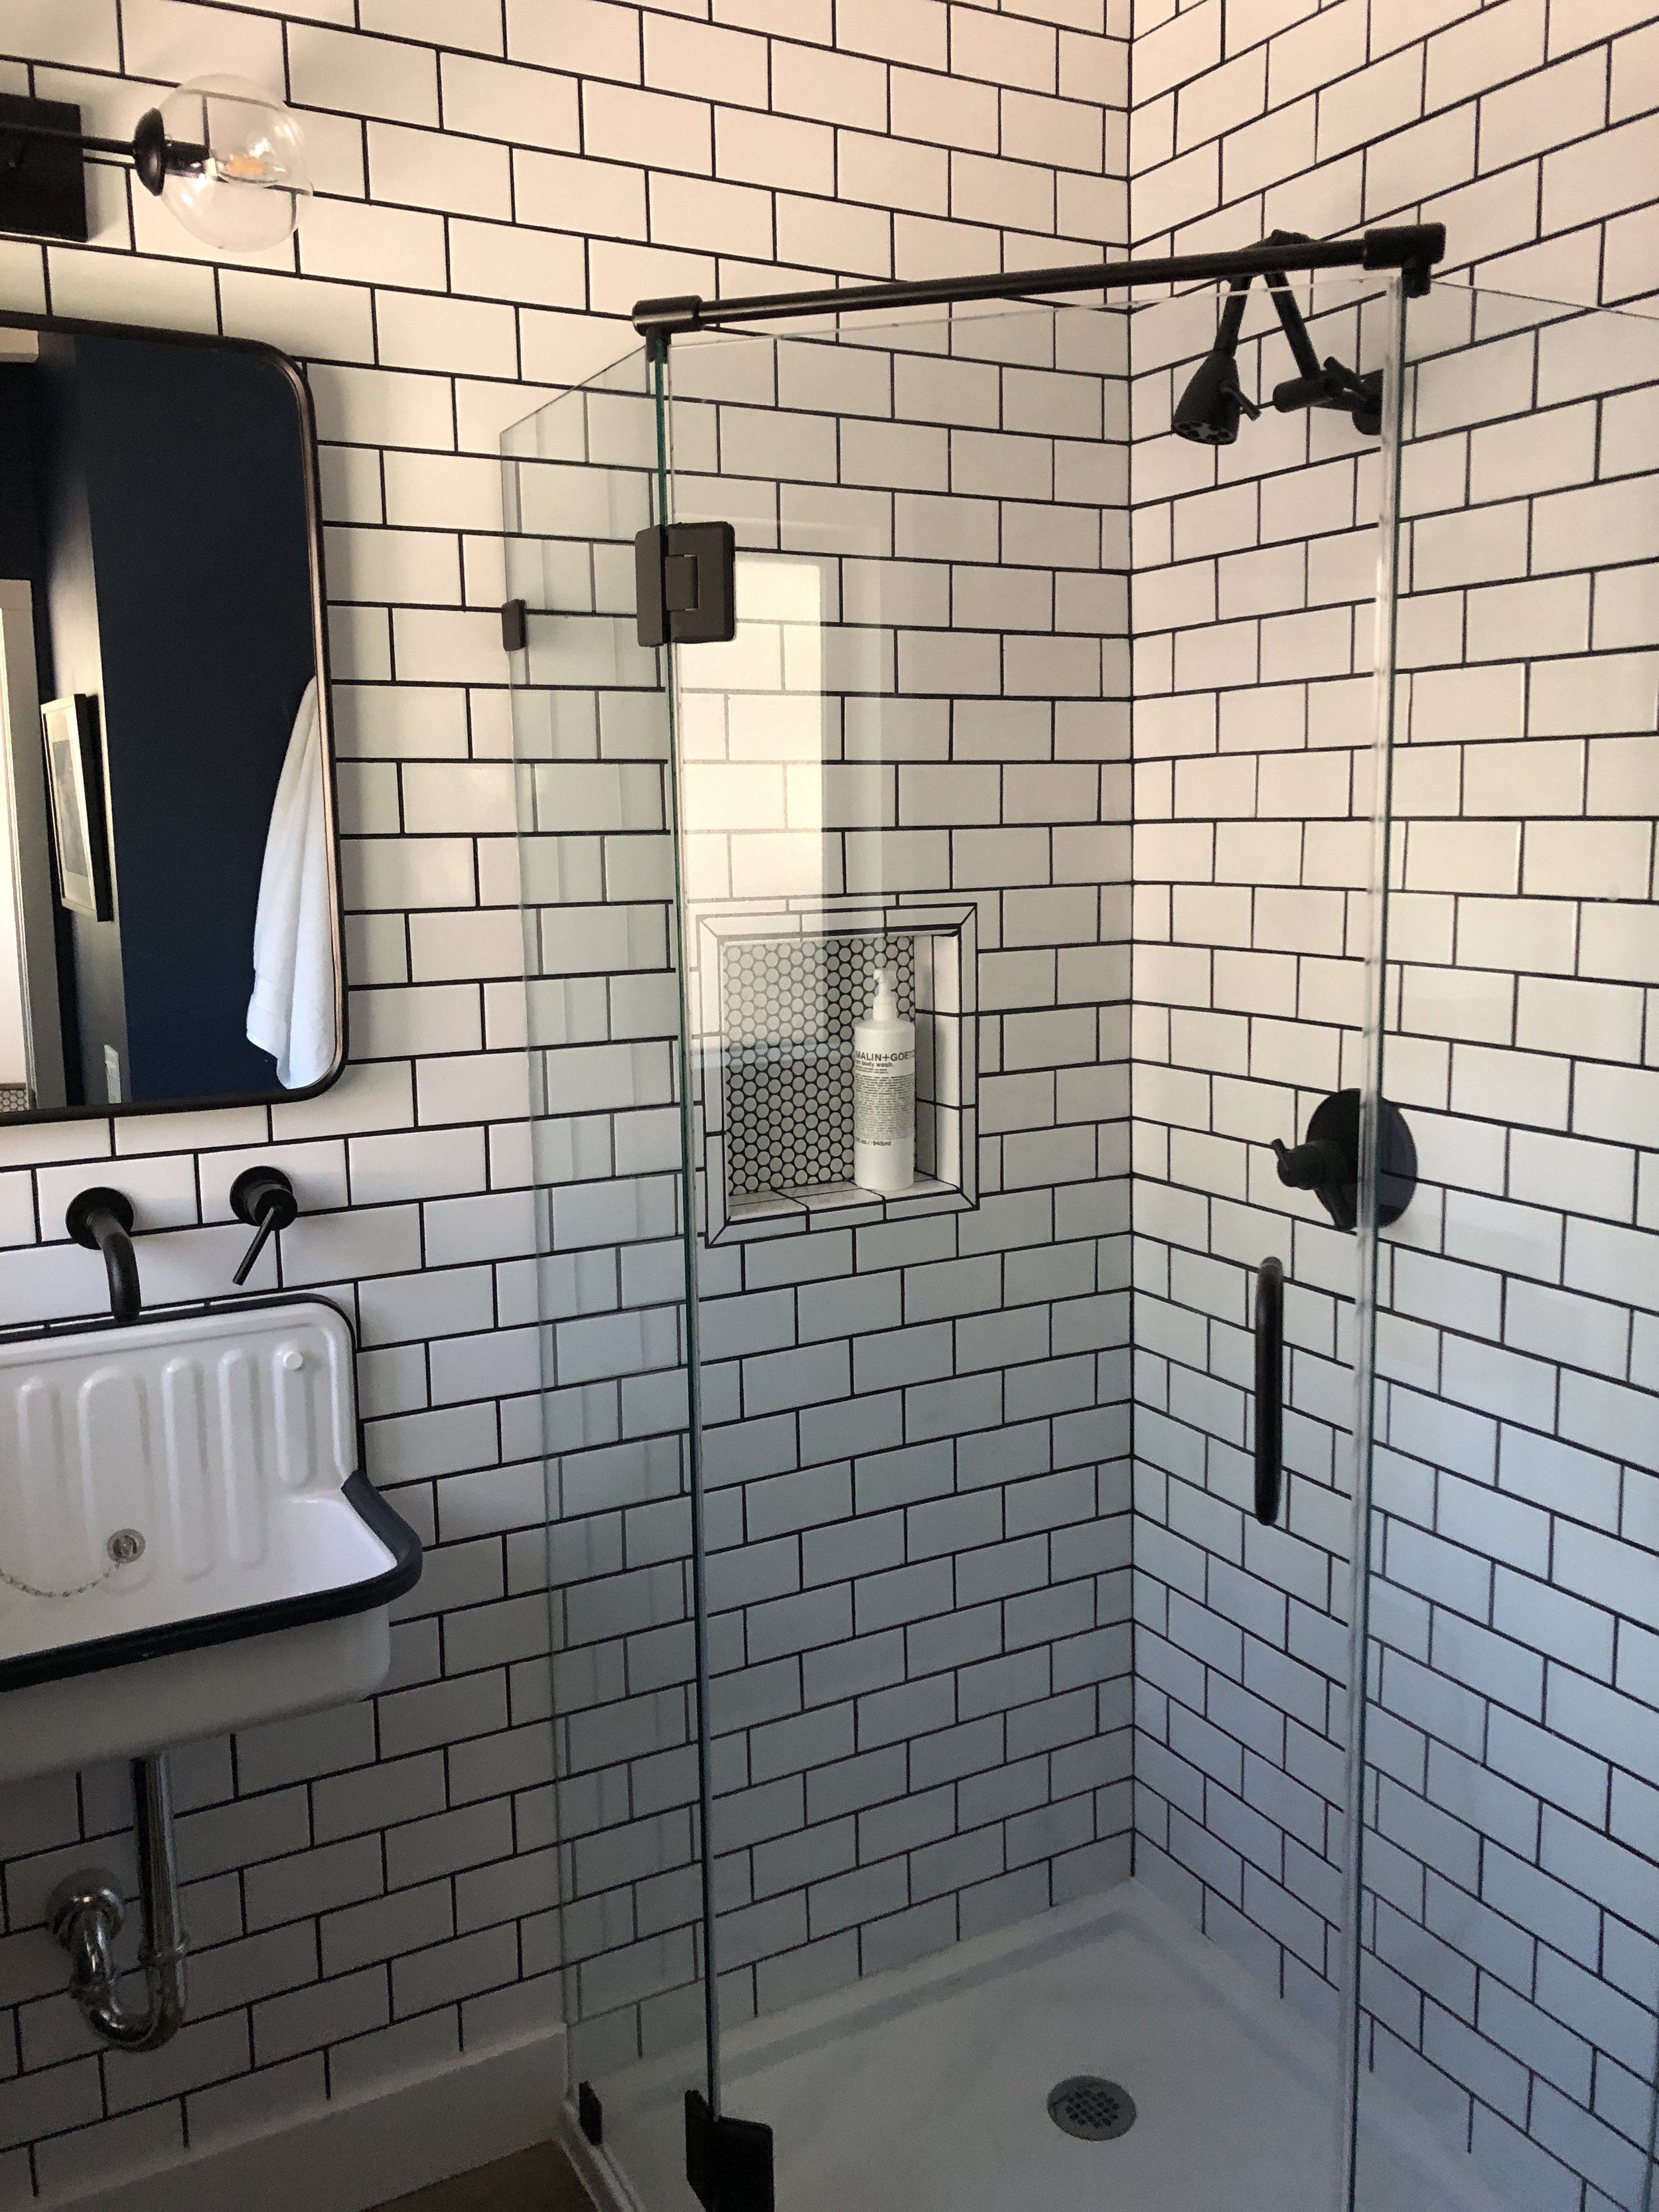
New shower base (plumber)
Tiling two full walls
Mounting new sink over tile
New flooring
Custom shower surround (glass guy)
New plumbing fixtures throughout (plumber)
New vanity lighting
Casing & adding a sill to the window
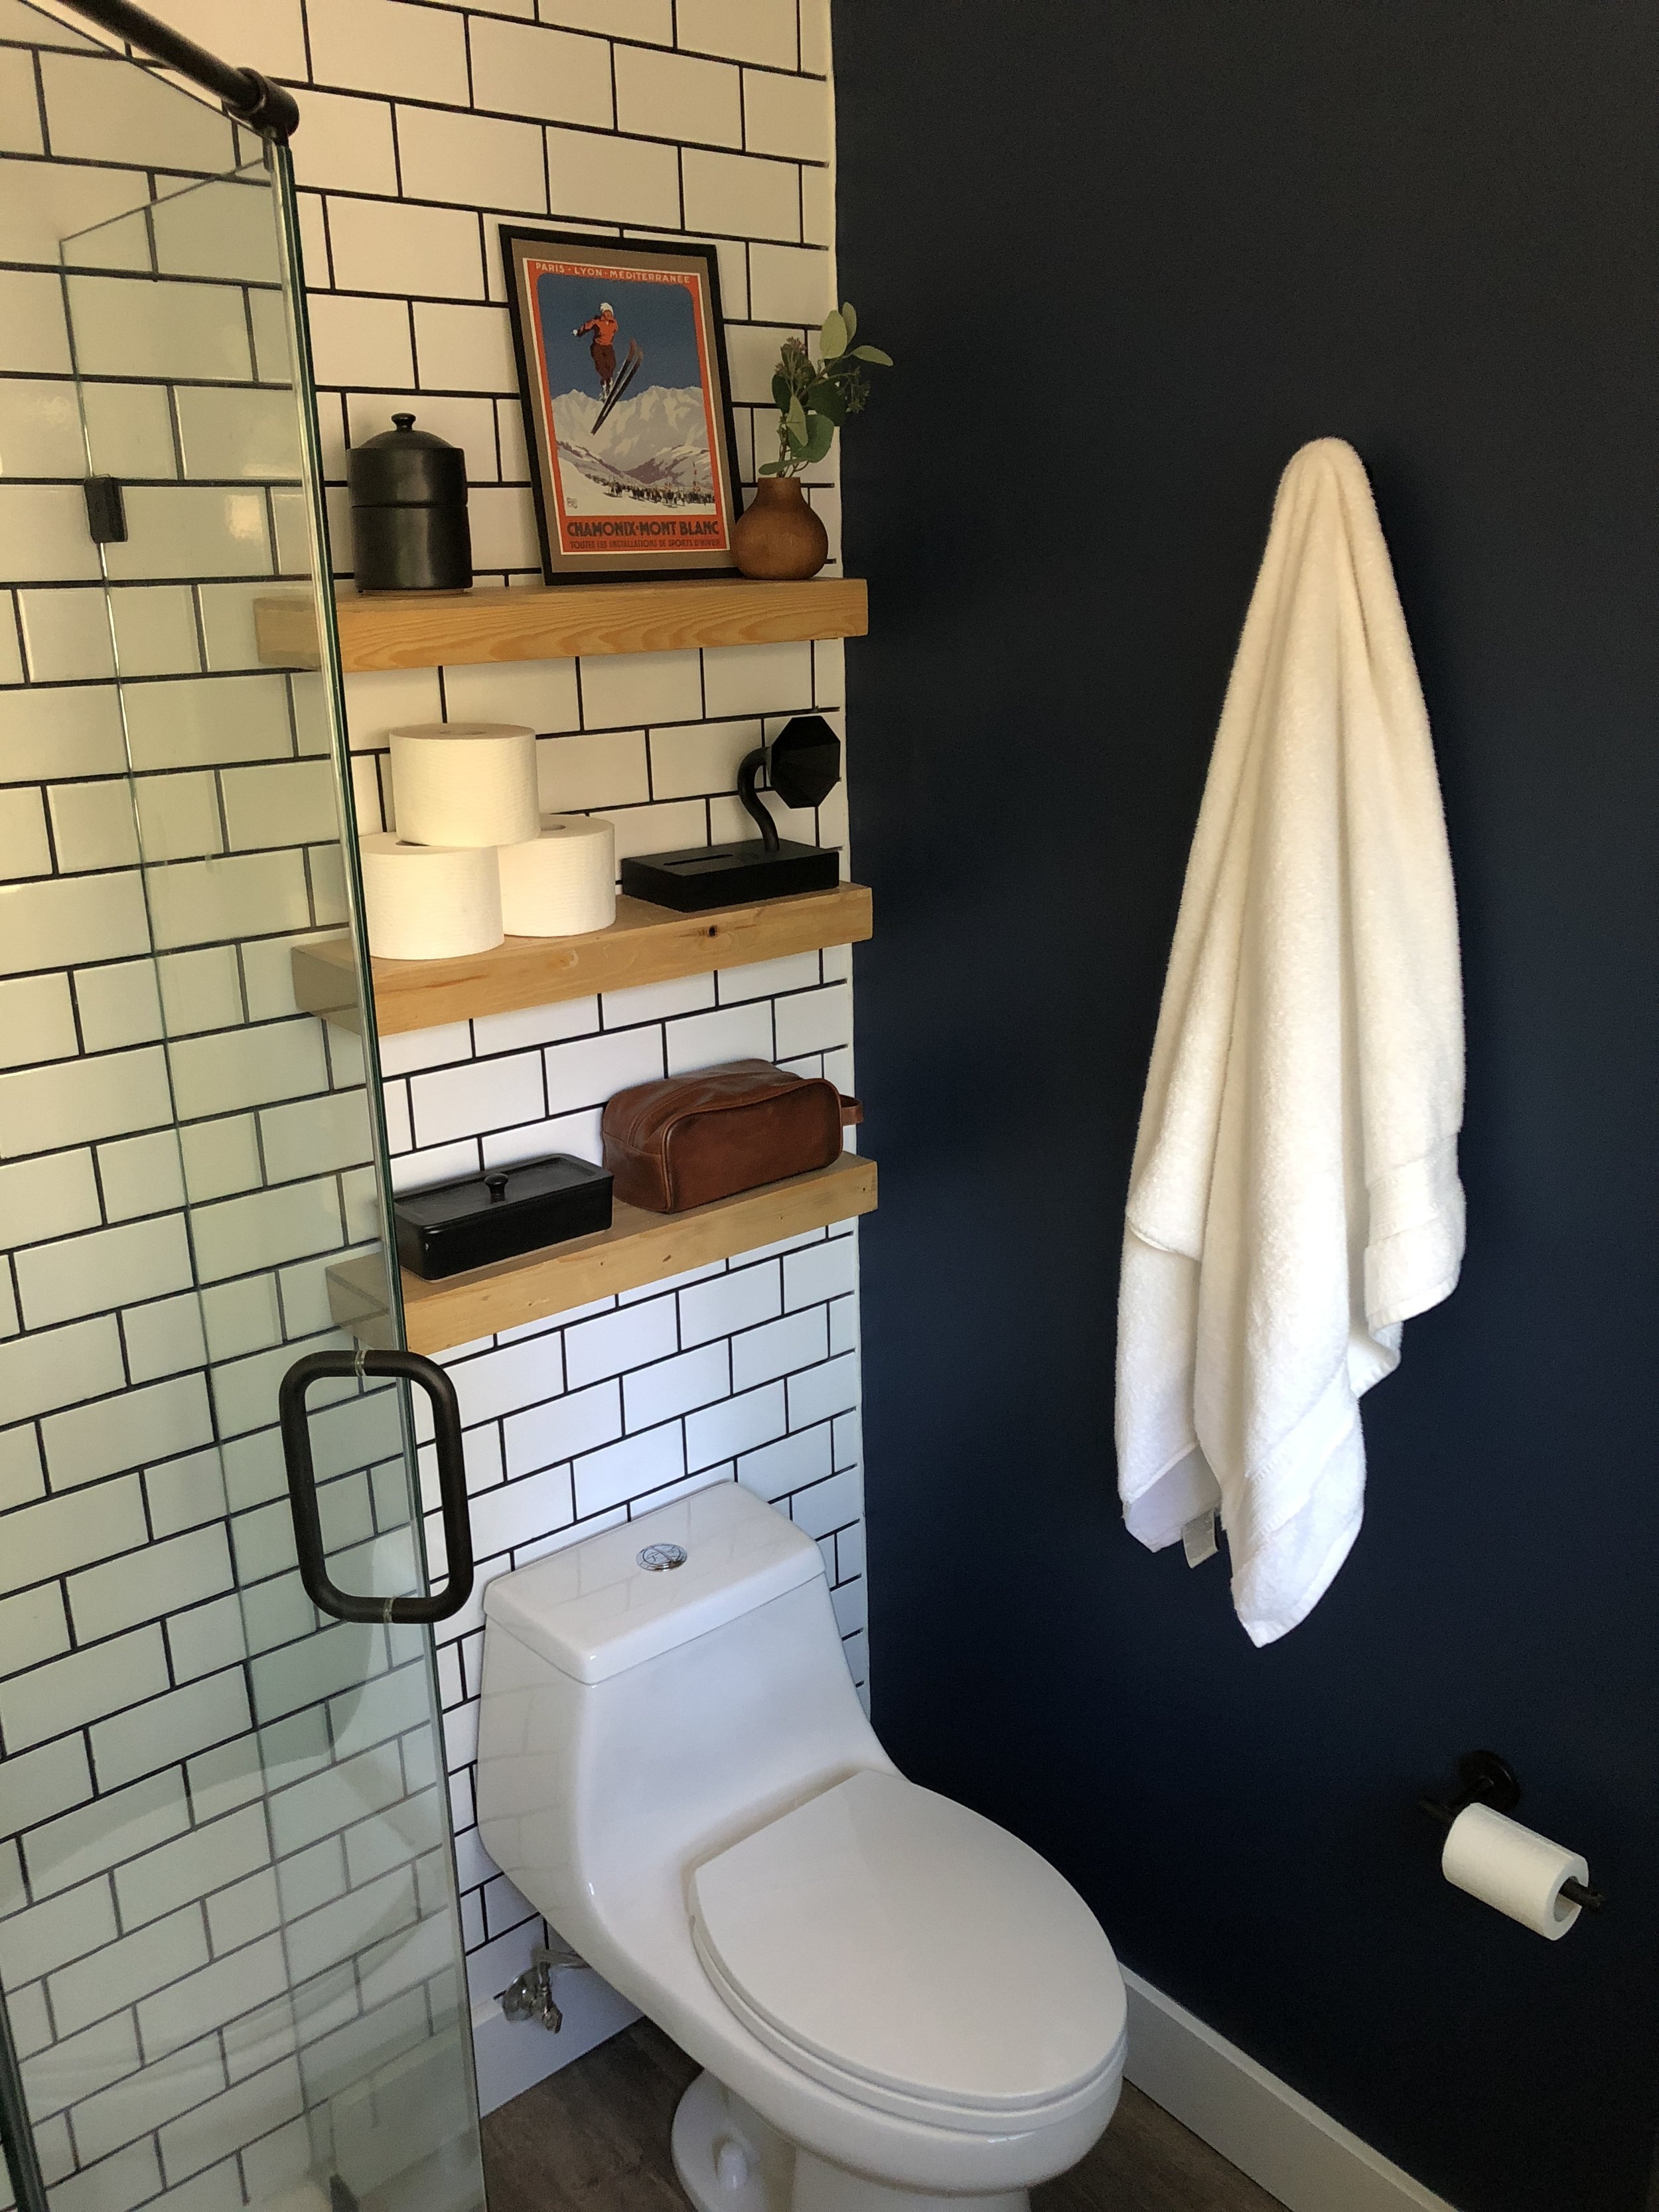
Installing new toilet (plumber)
Decor!
By far the most challenging/time consuming job in this room was the wall tile. In a truly Cameron-style move, I chose this large, complicated job for my first ever tiling project. I learned a ton and it took me about 3x as long as I thought it would, but that’s probably a subject for a future post. Many of the other finishes were easy enough to choose…Lowe’s sells exactly one shower base that fits this small space, so that choice was made for me (shout out to my lovely neighbor Linda who recently renovated her own bathroom and did this research so I didn’t have to), the flooring is the same throughout the whole condo, and the local glass guy gave us one option for the shower enclosure. The rest of the details are below!

Light: Wayfair
Mirror: Rejuvenation
Bathmat: CB2
Faucet: Delta
Sink: Rejuvenation
Toilet: Glacier Bay
Tile: Floor & Decor
